Landscape Design 101: Landscape Layout

Last updated: Mar 20 2023

Download and print this module's companion worksheet here!
Grab your colored pencils! It's time to use your notes and put your design to paper. Don’t stress if you have zero art skills–if you can use a ruler and draw basic shapes like circles and squares, then you have all you need to make a great design.
Need to jump ahead? Scroll to each section by clicking the corresponding text below.
- Process Overview
- Drawing the Base Map
- Functional or Bubble Diagram
- Preliminary Design
- Landscape Formulas
- Finalizing Your Design
When designing your landscape, first comes all the notes and observations that you’ve already done up to this point. These notes are the map to guide your design, and more importantly, make it work! Functionality should be the backbone of your design, so compile your notes and have them handy during this step. Now is a good time to prioritize your wants and needs in your space too. By thinking about the importance or long-term cost you can pick and choose what you install now, later or not at all.
How the Process Works
There are many drafts and layers to a successful design, and just like the notes portion, it might be tempting to skip the drafts and go to the final one. However, if you’re like most of us, the details might get lost. So, here are the general steps to build out your design and the way the process works.
- Gather the notes you took during the Understanding Your Landscape and Creating A Vision portions of this course and prioritize the spaces or features that you want to include in your design.
- Draw a base map of your project area.
- Label key areas around your landscape like shade, low or high points, etc.
- Designate functional zones on a copy of your base map (also known as a bubble diagram).
- Add detail to the functional zones.
- Create a final draft of functional zones and what’s included.
Drawing the Base Map
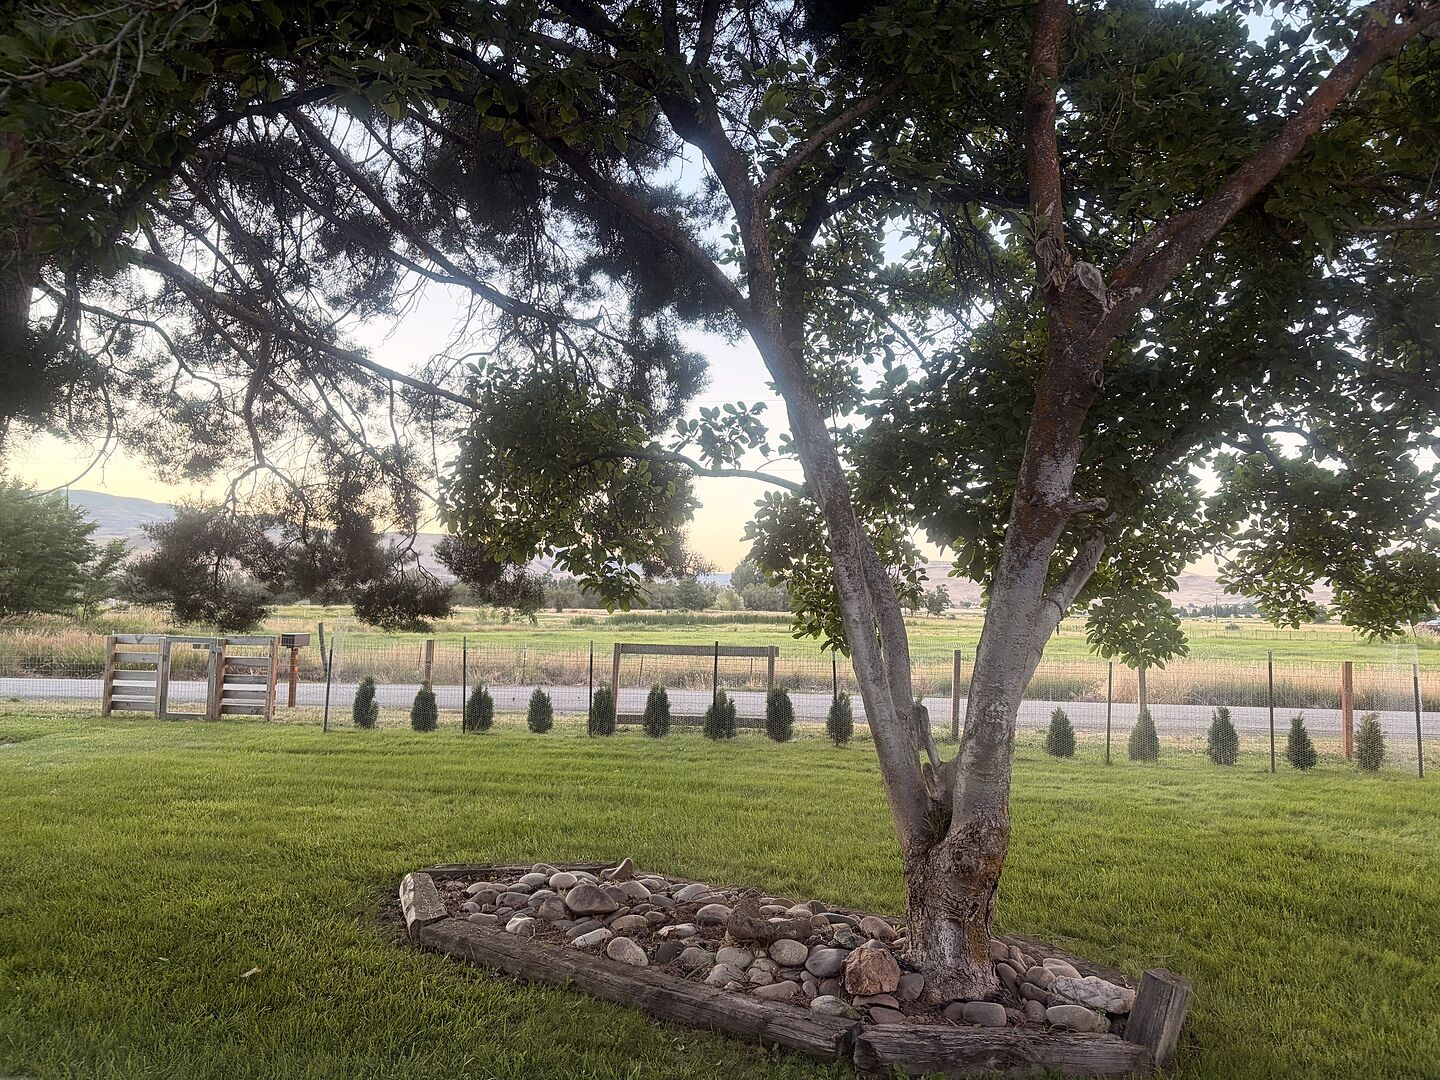
The base map is your starting point and clearly lays out the “bones” of your property from a bird’s eye view. Your property lines, utilities, structures, and large trees should all be clearly labeled. This will be your template for the rest of the design.
FGT Pro Tip: Once you have your base map completed, make copies of it and keep the original untouched. By making copies you can always work backwards or start over if you need to!
Method 1: Use Google Maps
It's not widely known, but Google Maps can provide you with more than just directions. There’s a virtual measuring tool that you can use to measure your house outline, tree distances, and property. This makes it easy to gather the main measurements you’ll need to make your design. If your property is fairly new and not on Google Maps yet, we suggest Methods 2 or 3 below.
Method 2: Measure it Yourself
If your property isn't very large or if you have a free afternoon, measuring your property yourself is a very doable option. You’ll need something to take notes on and a large measuring tape. This method is slightly more accurate than the Google Maps method and works quite well if you have the time to do it.
Method 3: Get a Copy of Your Property Map
If you’re a homeowner or built the house you’re landscaping, there’s a good chance that when you bought the property you received a survey. If you can locate a copy, use this as your base map–just make sure it’s accurate and up-to-date with any changes since it was made.
Method 4: Hire a Survey Company
If there’s a task to be done, you can be sure there’s someone willing to do it for the right price. If none of the other methods have worked or you wish to have the most accurate and up-to-date map of your property, hire a professional land survey company that will come out and map every inch of your property, including slopes and existing trees.
Make Some Notes
After you have your copy of your base map, it might be helpful to illustrate the notes that you took of your property. This is optional, but if you’re a visual person it might be useful in determining the functional areas that come next. See our example below to get an idea of what this is and if you would find it useful.

Functional or Bubble Diagram
Now that you have your base map, let's get started on a general design! The idea here is to start general and add detail later. The functional or bubble diagram is what it sounds like–you’re indicating general areas and labeling what function they’ll serve in your new design. These lines or areas aren’t exact, so feel free to play around with different layouts until you find the one you like. You can focus on the details later. Check out our example bubble diagram below!
FGT Pro Tip: If your ideal spot for your vegetable garden is full shade, then you’re out of luck. Vegetables need at least a little sun! To help with placement, look at your notes or your notated base map!

Any questions so far? Leave them in the comment section below. Friday, March 24, we’re responding to your questions during a live Instagram Q&A session.
Drawing the Preliminary Design
Focus on each space or bubble, breaking down your design and drawing various features. This doesn't have to be a work of art–just stick to basic shapes and label them as you go. And don’t feel like you have to know the kinds of plants you’re placing in the area just yet–keep it general and notate if you’d like evergreens, a flowering tree, a garden bed, etc. Picking out the specific plants will come next. Here's an example of the preliminary design:

Outdoor Rooms
When creating outdoor spaces and rooms, you have to think about what makes a room a room. Ceilings, walls, and floors are the main components of a space and can create an inviting and purposeful place in your landscape. Get creative with building outside rooms–below are some ideas to help create the feel of an outdoor room.
- Walls: trees, raised beds, natural hills or retaining walls
- Ceilings: pergolas, tree canopies, sky lights, cafe lights
- Floors: bricks, stones, crushed rocks, tiles

Multifunctional Areas
Keep in mind that one space can serve more than one function in your area. This is a great way of satisfying all your wants and needs even if you have a smaller space to work with. An example of combining areas is having a dining area with raised planting beds around it to grow your herbs and vegetables. Don’t be afraid to think outside the box and see what combinations you can come up with!
Pathways
If you know you always cut through the same line of shrubs or trees in your landscape, turn it into a pathway and add additional pathways to access the rest of your landscape. Walking across the grass or planting beds in the same spot will compact the soil over time and make it hard to grow anything there. If you want more than just a dirt path, then include pathways in your design, even if they’re just stepping stones.

Entries
Placing sand right outside your backdoor is probably not the best idea if you don’t want it to travel into your house. Entries should be clean, safe, and inviting. Make sure any area near a door is easily accessible and won't contain things like mud, gravel, mulch, or other materials that might make a mess inside. By focusing on comfort around your space, you’ll actually want to enjoy your new space.
Don’t Forget About Style
In the previous article, you defined your style, so make sure that your areas are cohesive and don’t feel disjointed. Don’t be shy about repeating materials or plants in several parts of your yard, as this will make the look flow together. Check out some styles here if you need a refresher.
Leave Space
When drawing details on your map, don’t forget about scale! Remember to allow room around the fire pit for tables and chairs to be comfortable. Think about where your hose hookup is or how you’ll irrigate a garden or leave room for a mower. As a reference, we recommend leaving around 3-5 ft. of moving room around any chair to allow space to move and not feel cramped.
Landscape Formulas and Example Layouts
Need some more help? We got you covered! Here are some landscape formulas to get you started.
Matrix Planting
This style is for the people who like to let nature take the lead (a.k.a. work smarter, not harder!). This works best in larger areas, but it can be sized down to fit your planting space.
First you need to choose some plant varieties. Choose a space you want to fill in and select 3-4 plants with similar care needs to do the job. Next, place groups of these plants (so your total will be far higher than 4 plants) near to one another and surround them with groundcover. Then, let nature do the work.
You’ll need to weed and water more frequently (especially during the first year). However, more plants will fill in the space in time, causing fewer weeds and a lower maintenance garden for you to enjoy.
FGT Pro Tip: For this method, we recommend naturally seeding plants that will spread over time, such as grasses or traditional prairie flowers.
Permaculture Approach
If you value functionality above all, we recommend that you arrange the zones of your space by their purpose (purpose being a key theme of permaculture). The idea here is to put the plants that need the most attention closest to you while putting those that are more "hands-off" further away. This optimizes your space and limits the amount of work you have to do on a regular basis.
Strategize carefully by taking note of the growing conditions (sunlight, soil) in different regions of your yard. Create as many zones as needed in whatever shapes make sense to fill your project area. To make organizing this layout a bit easier, we suggest making at least one zone per growing condition type (ex. Zone A gets part sun and plenty of moisture, while Zone B gets full sun but has dry soil). Check out our first module, Understanding Your Landscape, for more tips on mapping out your yard’s varying growing conditions.
After the zones are established, work on filling them in one by one, prioritizing the high-touch plants. Eventually, you’ll achieve a filled-in look, but with less effort than other types of landscaping.
FGT Pro Tip: This method can even be applied to smaller areas and indoor spaces! For example, place a small herb garden on the kitchen windowsill for easy access while cooking. Again, function and ease of access come first!
Mixed Privacy Border
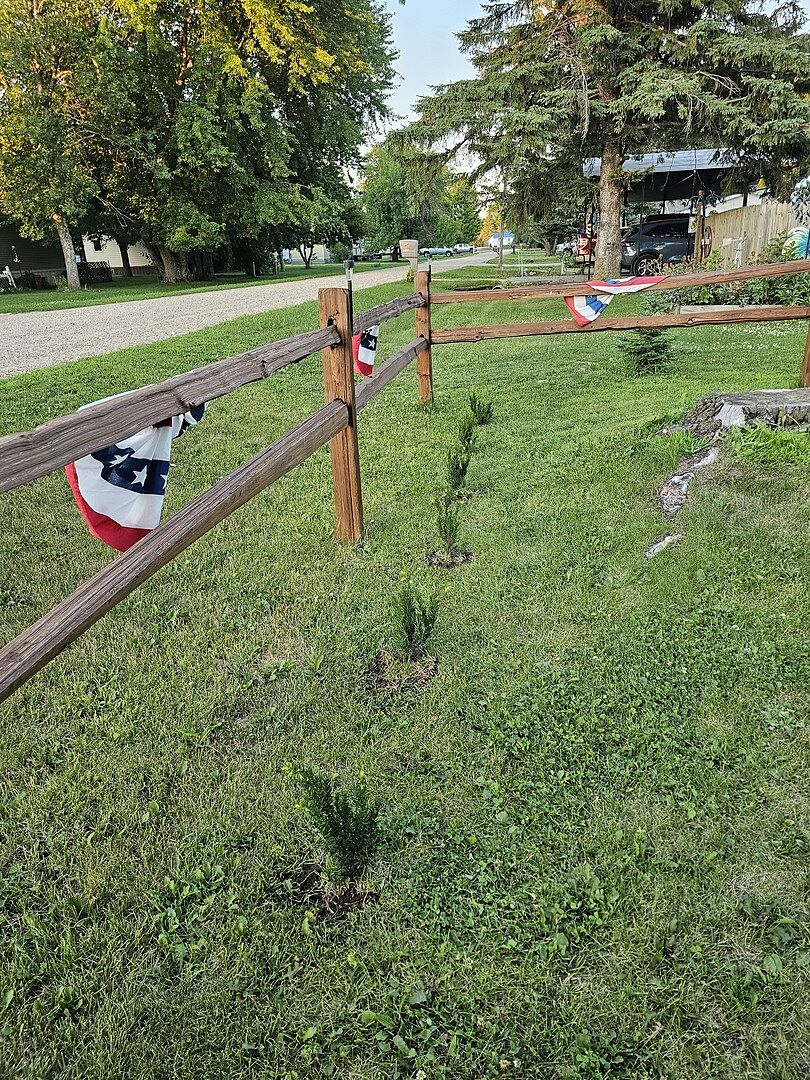
Gone are the days of one line of the same tree–don’t be afraid to have fun and mix it up! Not only will this add more visual interest, but variety is also better for the environment. By mixing up the types of plants near each other, your privacy wall will be more resistant to diseases and pests that might wreak havoc on a one-plant-type border.
To get started, use the ABC plant examples and diagram below:
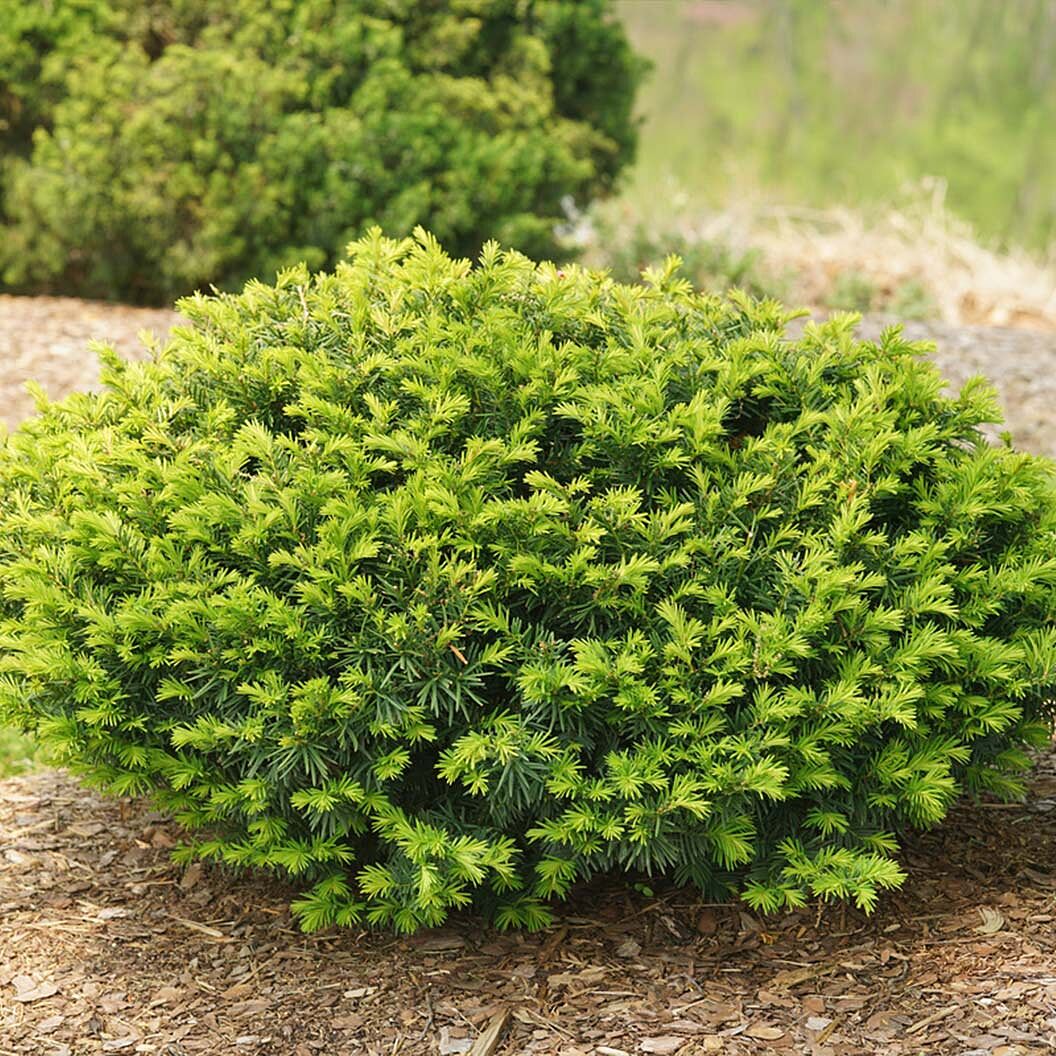
- Plant A: We suggest a tall evergreen like the Junior Giant Thuja or the Emerald Green Arborvitae.
- Plant B: Go for a mid-sized evergreen with color like the Burning Bush or the Nellie Stevens Holly.
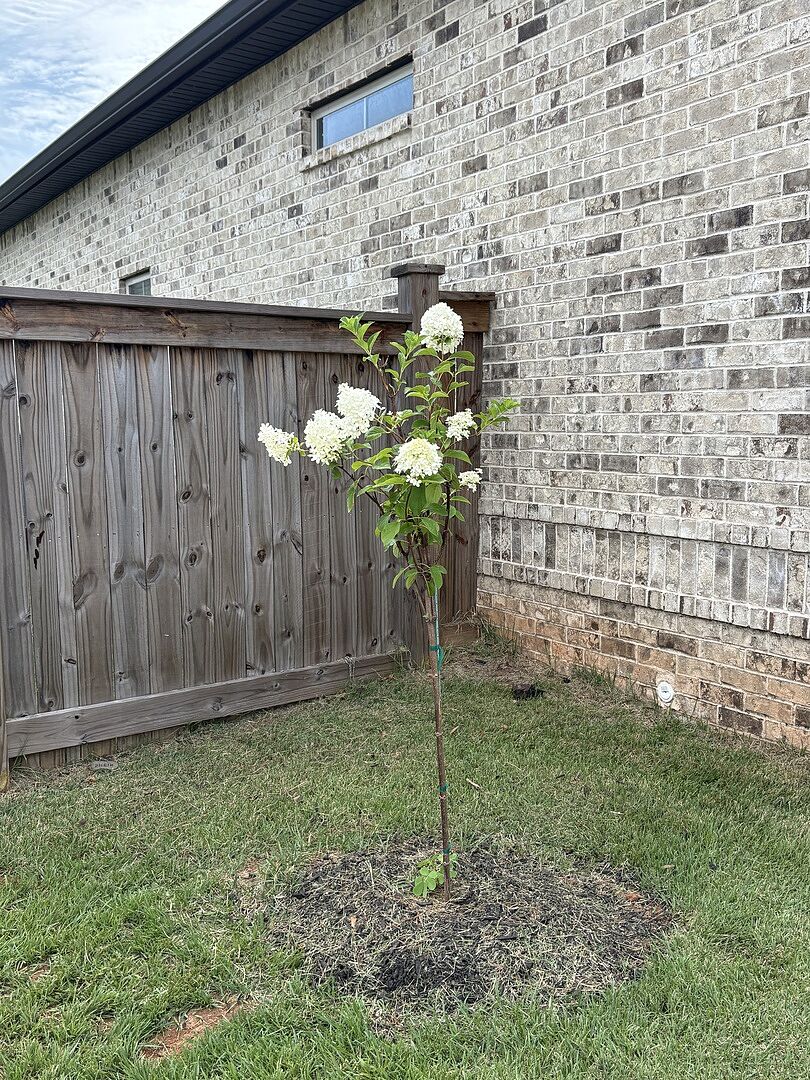
- Plant C: Choose flowers that brighten up the space and add seasonal interest (i.e., gardenias or hydrangeas).

Asymmetrical Layout
Go bold and unique with asymmetry! Follow the layout below and put in plants that grow well in your zone to personalize it even more.
- Plant A: Pick something that is moderately sized but has bright foliage, like a lantana or Burning Bush.
- Plant B: This spot works well with a columnar tree like the Italian Cypress or the Columnar Elm.
- Plant C: Aim for something short but wide, like a hydrangea or azalea right in the center.
- Plant D: This should complement Plant B by being slender but a different plant type, like a juniper shrub or Sky Pencil Holly.
- Plant E: This spot is great for plants around 3 feet tall or your favorite perennials, like peonies or ornamental grass.
- Plant F: Here you want to add in a rounded evergreen, like a holly or the Cryptomeria 'Globosa Nana' Shrub.
- Plant G: This spot works for a variety of plants. Whether you want to add in color or texture, we only recommend choosing a shorter variety to avoid hiding the plants in the back. For example, you might plant Society Garlic or liriope.
- Plant H: Groundcover works well up front to add texture and depth, so choose something like creeping juniper or the Snow-N-Summer™ Asiatic Jasmine Shrub to place here.
- Plant I: To visually balance the look, mirror the color of Plant A with a flowering groundcover plant or low shrub like a drift roses or nepeta.

Corner Layout
Need a simple corner solution? Try this one and pick your favorite plants to add to your landscape.
- Plant A: This is your statement piece–go for a dramatic shape and/or color like a weeping tree, a rose tree, or even a fruit tree.
- Plant B: Anchor your look with some evergreens here. Boxwoods, hollies, or tea olives are all good options.
- Plant C: Accent Plant A by complementing its color and/or attracting pollinators to the area. We recommend planting roses, daisies, or lavender.

Fence-Friendly Flower Bed
Mix up your fence line and add depth, dimension, and color. Choose the plants that fit your needs and style to truly customize your space.
- Plant A: This is a great spot for a shrub, like a butterfly bush, to add texture and color.
- Plant B: Aim for something around 2 ft. high, like drift roses or even hostas (if planting in shade).
- Plant C: Anchor the look with a small evergreen shrub like a holly or boxwood.
- Plant D: Go for a statement tree, like a weeping redbud, a Japanese maple, or a hydrangea tree.
- Plant E: This is the perfect spot for a focal point or statement piece. Go for an elevated perennial like the peony.
- Plant F: We suggest something to add movement here, like ornamental grass or a low palm (if your climate is warm enough).
- Plant G: Place a groundcover plant here, like creeping juniper or rosemary, to round off the look.

Finalize Your Design
Go ahead and draw until your heart’s content! Redraw and make copies and edits until you get it right. Once you’re happy with your preliminary design, go ahead and finalize it by adding in color and labeling the plants. It's helpful to add a key of the different plants, furniture and other features in your design like we've done below. This is where your drawing really comes to life, and you're just about ready to make your design a reality!


Have fun in this step and remember to reference your functional maps. If you get stuck, try taking a break or starting on another area of your yard. And keep in mind that it doesn’t have to be perfect–it’s just a starting point that can be refined later on!
Don’t forget to download and print out our Landscape Layout Worksheet so you can create your own Base Diagram, Functional Diagram, and Preliminary Design.
Plus, check out the rest of our Landscape Design 101 course to keep learning and transform your landscape! And be sure to shop our wide selection of trees and shrubs to really spruce up your space.
Written by
Meredith Gaines
Meredith's love for plants started at a young age, and only grew when she started working in the Desert Exhibit at the South Carolina Botanical Gardens and the Historic Filoli Estate in the Bay Area. After graduating from Clemson University (GO TIGERS!) with a degree in Biology and Horticulture, she found her niche in the FastGrowingTrees.com family as a horticulturist and has grown in her current role as Senior Plant Expert.
She currently resides in her hometown of Charlotte, North Carolina, and enjoys spending any time she can outdoors. She learns new things about plants every day and loves sharing her plant knowledge and tips with those around her. Her favorite plant is constantly changing, but her long-time favorites are peonies, oak trees, and ferns.