How to Harvest Your Own Tea

Last updated: Jan 30 2023

There is nothing quite like a cup of warm tea to cozy up or a glass of iced tea to cool off. Tea is universal—it’s been around for more than 5,000 years. And with so many types to choose from, there’s a tea to match every palate.
Tea benefits not only your taste buds but your overall health as well! Studies have shown that tea can boost the immune system and provide antioxidants that may lower the risk of chronic illness.
Growing your own tea at home is easier than you think. In this article, we’ll walk you through the whole process from start to finish.
The Origin and Production of tea
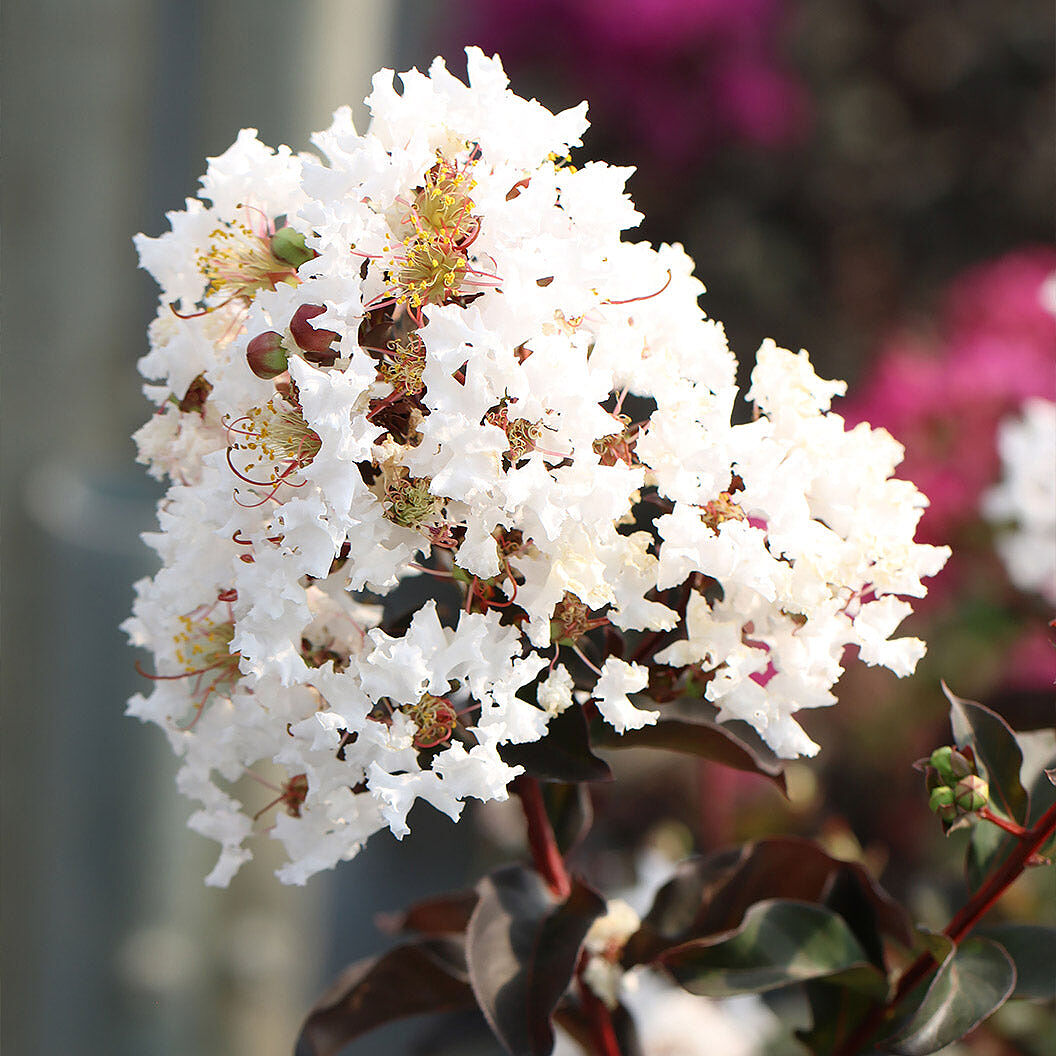
Black, white, green, and oolong teas all come from the camellia. While the exact origin is unknown, the practice of brewing tea likely began in East Asia, where Camellia sinensis naturally grows. While there are other plants and herbs you can make tea from, consider the Camellia senenis as the foundation of most of the teas you enjoy.
The process of making tea is fairly simple, with only three main steps involved from plant to cup. Ready to dive in? Click on the corresponding step to jump ahead.
Types of Tea

Though all mainstream tea is from the same plant, each type’s unique flavor and caffeine profile develops during the processing step. See the table below to see more details on each tea type.
|
Type of Tea |
Brewed Color |
Caffeine Level |
Taste |
Oxidation Level |
|
White |
Pale yellow |
Very low |
Light, delicate, soft, sweet, fruity with notes of cucumber and melon |
No oxidation |
|
Green |
Light yellow/green |
Low (About 30% as caffeinated as an espresso shot) |
Nutty, savory, earthy |
No oxidation |
|
Oolong |
Rich amber/brown color |
Medium (About 50% as caffeinated as an espresso shot) |
Floral, fresh, fruity, nutty, honey- or caramel-like sweetness |
Semi-oxidized |
|
Black (Very popular; includes Earl Grey, Darjeeling, and English breakfast) |
Dark brown color |
Highest (About 60-70% as caffeinated as an espresso shot) |
Bold, strong, fruity, astringent |
Fully oxidized |
Honorable mention: Pu’er (a.k.a. pu-erh) is a type of fermented tea that exists in both raw and ripe forms. Although Pu’er also comes from the Camellia sinensis, it’s a tad difficult to make at home, so we excluded it from our list.
What You Need to Make Your Own Tea
Now that you have an overview of the process of making different kinds of tea, let’s talk about supplies.
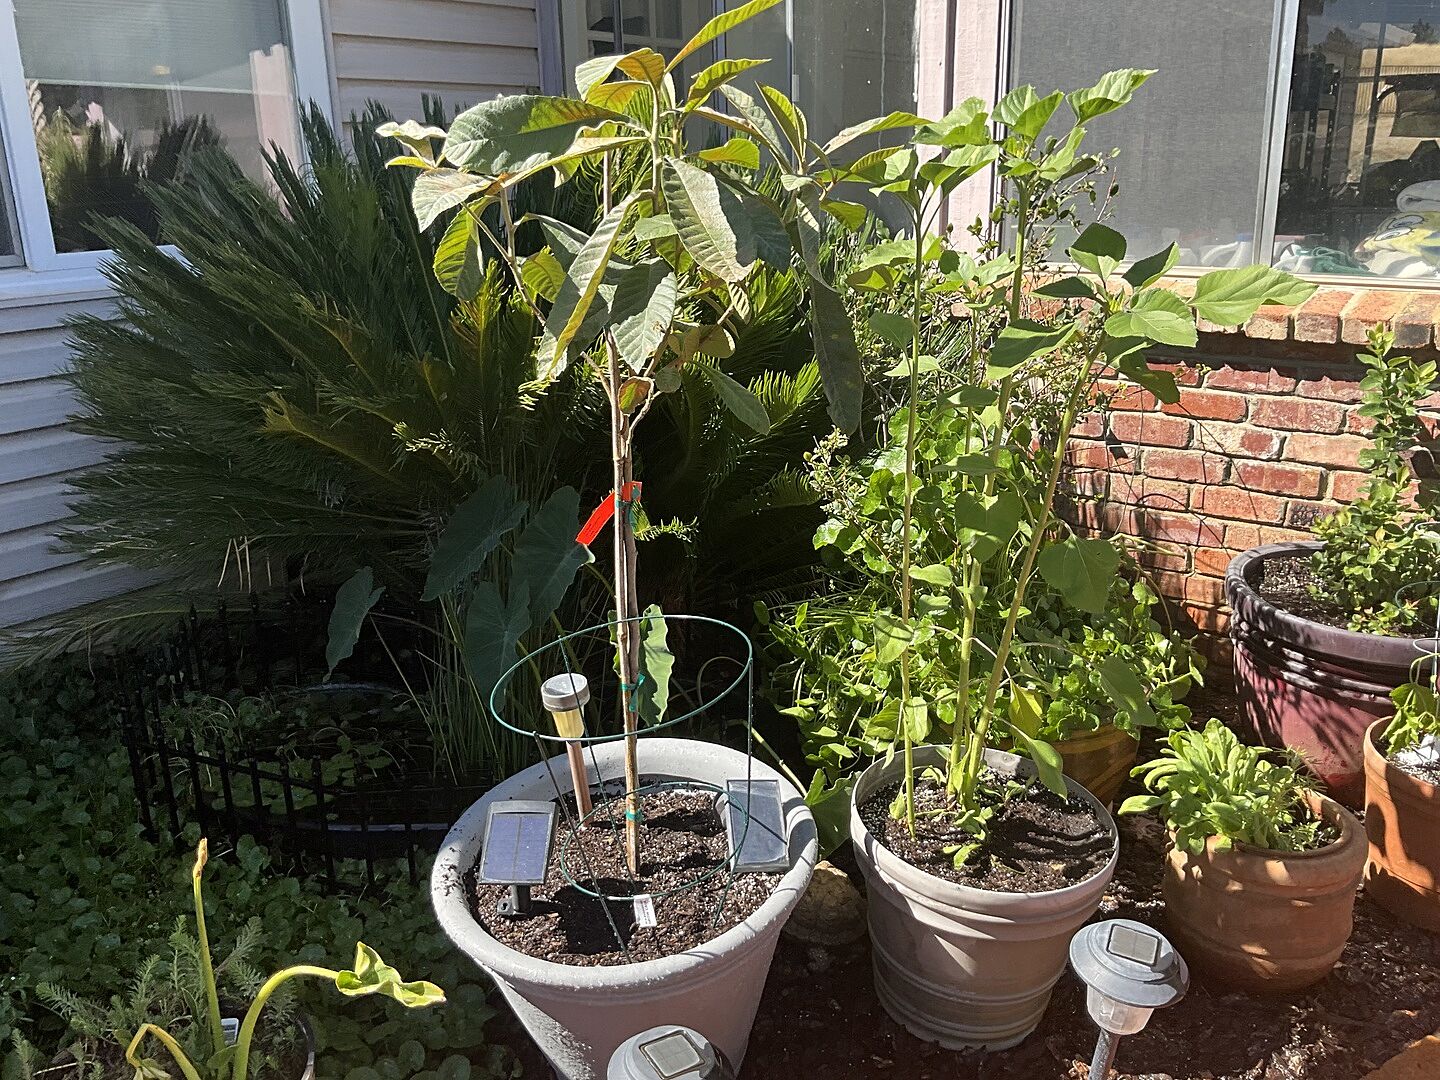
The Tea Plant
Making tea starts with the camellia plant, specifically the Camellia sinensis. Make sure you use the full botanical name when shopping so you don’t confuse the “Tea Plant” for the “Tea Tree Plant” or any other camellia varieties. Unlike the many blooming camellias, the Camellia sinensis has specific leaves that make it safe to consume.
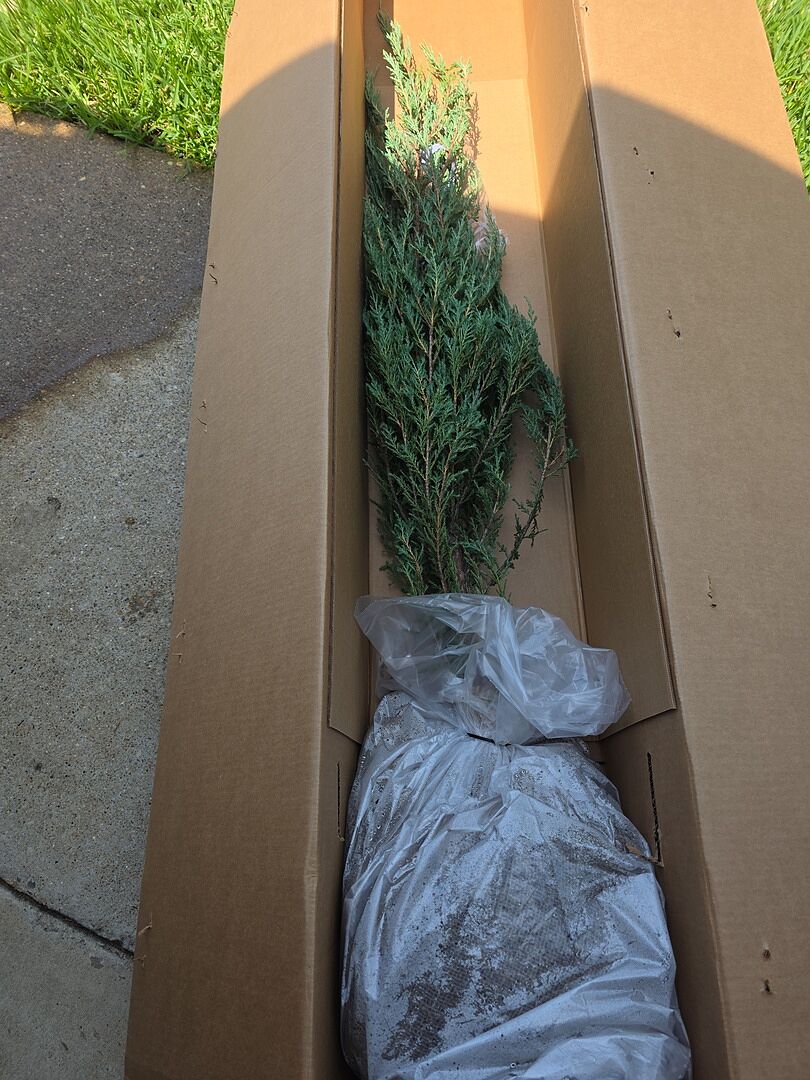
The Harvesting Tools
Besides what’s needed to plant and grow a shrub (like a shovel and a watering can), here’s a list of the tools required for harvesting your tea plant.
- Pruners
- Basket or bag to place harvested leaves
- Cheesecloth
- Baking tray
- Air-tight container
If you need help with planting and care, get expert advice for free by calling our plant experts at (877) 729-4656. You can also check out this article for tips on starting your growing journey.
How and When to Harvest Your Tea Leaves

The key to a great harvest is to time it right. Ideally, you’ll harvest in the spring when you see about 3 inches of growth. In warmer climates, you may enjoy a longer harvesting season.
Newly planted Tea Plants may take 1-2 years to produce a sizable harvest. However, as long as you have new growth, you can harvest (even if it’s just a little)!
When harvesting, the leaves will be soft, so use your hands to pinch off the new growth with the new stem and all. Keep the leaves on the stem (even the ones that have not unfurled yet) until you’re ready to begin processing them. This will preserve their freshness for longer.
How to Process Tea Leaves at Home
White Tea
Note: Aim for a crisp and brittle (not burnt) texture to the leaves. Frequently check the oven to remove faster-drying leaves early, if necessary.
Green Tea
Note: Aim for a crisp and brittle (not burnt) texture to the leaves. Frequently check the oven to remove faster-drying leaves early, if necessary.
Oolong Tea
4. Stir up the leaves by gently shaking the cheesecloth. Then, redistribute them on a dry, flat, breathable surface. Allow them to continue drying indoors (out of the sun) for a few hours or until the leaves are about 1/3 of the way dry. They should still look flexible (not crispy).
Note: If you do not have a surface with holes that allows for extra airflow, just be diligent about periodically tossing the leaves to help dry them uniformly.
5. As the leaves are drying, you can move onto the next step: oxidation. Every hour, stir the leaves to keep the air flowing. Then, take handfuls of leaves and roll them between your hands to release their aroma. You’ll know you’re ready for the next step once you see a red tint on the leaves’ edges.

Note: Traditionally, this step is performed in large bamboo tumblers.
Black Tea
Note: Aim for a crisp and brittle (not burnt) texture to the leaves. Frequently check the oven to remove faster-drying leaves early, if necessary.
How to Store Your Homegrown Tea
Congratulations! You now have your tea, so let's make sure it doesn't go to waste in a month. Store your tea leaves in an airtight container and place it in a cool, dark, dry spot (away from any heat sources).
How do you know if your tea’s gone bad?
Give it a sniff! Tea that’s no longer fresh will have a musty smell to it and may change in color. The tea, if brewed, may also taste “off.”
Enjoy Your Tea!
Next time you need a fresh cup of tea, you can go to your homegrown stash and pull out a few leaves. For an 8 oz. cup of tea, you should only need four to five leaves. Place the leaves in a reusable tea bag or a tea strainer for easy removal.
The Perfect Brew
When you’re ready to brew, use the below tips to guarantee the perfect cup of tea.
- If possible, use distilled water, as it enhances the tea’s flavor.
- Use the right temperature for your specific tea (see below).
|
Type of Tea |
Water Temperature (°F) |
Time |
|
Black tea |
200-212 |
4-5 mins |
|
Oolong tea |
190-212 |
3-4 mins |
|
White tea |
90-175 |
2-3 mins |
|
Green tea |
170-180 |
2-3 mins |
- Set a timer! There is some wiggle room on this one, but over-steeping your tea leaves will turn your drink bitter.
- If reusing the same tea leaves for a second cup, soak the leaves for longer. Try not to use the same leaves for more than 2 brews.
- If you’re using crushed tea (usually in a store-bought tea bag), the brewing time will be shorter than homemade whole-leaf tea.

Mix It Up
Take your homegrown cup of tea to the next level with additional flavors (store-bought or grown in the garden)! Before brewing, consider adding one or more of the below ingredients to your tea bag or strainer. Don’t be afraid to experiment with different combinations—just have fun with it!
- Lemon balm
- Mint
- Rosemary
- Sage
- Thyme
- Lavender
- Raspberry leaves
- Citrus peels
Tea Grown and Brewed at Home
And just like that, you now have your own tea! Savor a cup for yourself or share it with a friend. Want to see more plant projects like this? Follow us on Facebook and Instagram @FastGrowingTrees for more expert tips and tricks!
Written by
Meredith Gaines
Meredith's love for plants started at a young age, and only grew when she started working in the Desert Exhibit at the South Carolina Botanical Gardens and the Historic Filoli Estate in the Bay Area. After graduating from Clemson University (GO TIGERS!) with a degree in Biology and Horticulture, she found her niche in the FastGrowingTrees.com family as a horticulturist and has grown in her current role as Senior Plant Expert.
She currently resides in her hometown of Charlotte, North Carolina, and enjoys spending any time she can outdoors. She learns new things about plants every day and loves sharing her plant knowledge and tips with those around her. Her favorite plant is constantly changing, but her long-time favorites are peonies, oak trees, and ferns.